Custom Extractors in Web Performance Load Tester
This tutorial will outline the steps to configure a custom extractor in Load Tester. Extractors are used to recognize small pieces of data in your application and apply them to future transactions within a test case.
I will be assuming that you are already familiar with building and running a simple test case in Web Performance Load Tester. I will also assume that you already know how to use a dataset to generate unique input for a test case.
If you prefer, you can watch this tutorial in the form of a screen cast.
We’ll be using SugarCRM as the object of our test. Let’s begin by establishing the use case.
Our Use Case
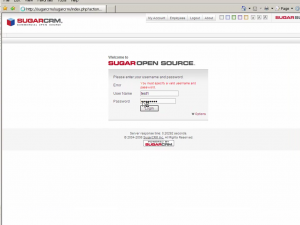
1) We log in to Sugar, using a username and password we have already created:
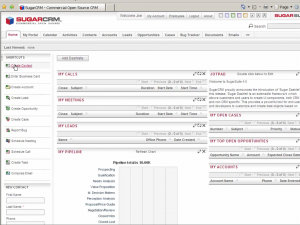
2) Then we choose to create a new contact:
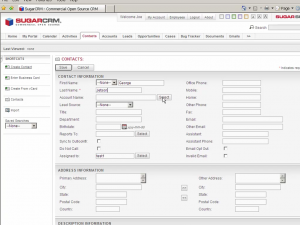
3) And we choose to assign an account to that contact:
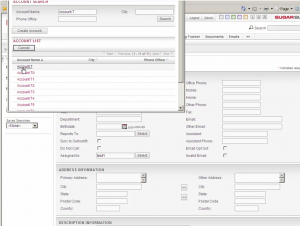
4) We type “Account 7” into the “Account Search” form and click “Search.” Account 7 appears in the list and we click it. For the purpose of this tutorial, it’s important that we actually use the search feature. This assigns “Account 7” to our contact:
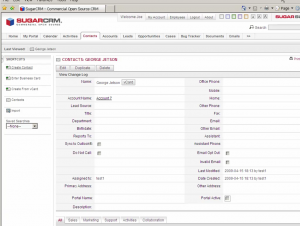
5) And Sugar should now confirm that our new contact is associated with Account 7.
Building a Test Case
Now we’re going to create a test case in Web Performance Load Tester that will simulate this user interaction. Recording the test case is a simple matter of performing the above actions inside Load Tester’s record feature.
Naturally, when we go to replay this test case, it won’t work, because on the subsequent run SugarCRM wisely complains that we already have a contact named George Jetson. Sugar’s complaint diverges from our canonical use case, triggering an error.
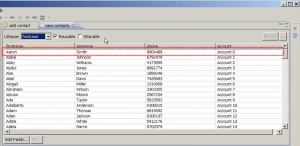
The solution is to build a dataset of unique names:
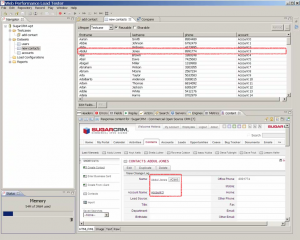
We went ahead and associated each name with a unique phone number and account — a good way to exercise our database. But when we go to replay our test case we notice another problem:
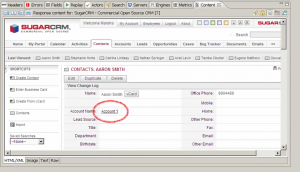
Somehow Aaron Smith was associated with Account 1, when his line item associates him with Account 0. How did this happen?
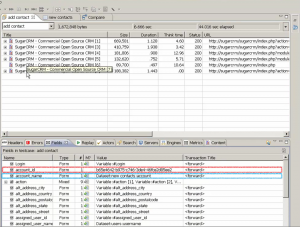
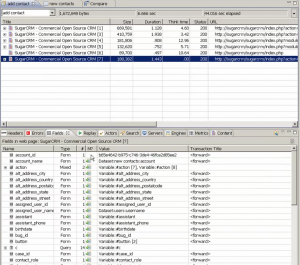
The first step is to look at our fields view, which is a table of all of the configurable outgoing data in any HTTP transaction.
We see that while Load Tester is correctly configured to pass in an account name from our data set (highlighted in blue), somehow there is an “account_id” (highlighted in red) field that has not been configured.
We know whether or not a field is configured by the
icon, which is present only for dynamic fields. If this icon is absent, then the field is a static literal. If this icon is present, then the field is taken from either a dataset or a user state variable.
It’s a fair guess that Sugar uses this 128-bit hex string as a unique identifier into account names. Although we pass the account name properly into the search field, Sugar sends back this unique identifier and uses it for the rest of the test case.
Configuring a Custom Extractor
We can use an extractor to grab this hex string and store it in a user state variable. But we have to find it first:
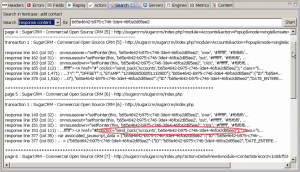
It takes a little bit of application-specific knowledge to know which instance of the hex string to extract. If we extract from the first page that contains it, we’re actually just extracting from a default list of accounts. The second page in our search results here also happens to represent the search results from SugarCRM.
We see that the hex string appears in a “send_back” javascript onclick handler.
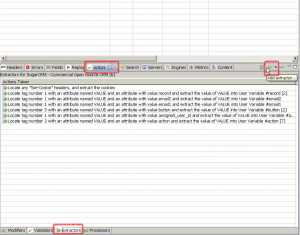
We’ll create an extractor on that page. First, select Sugar’s account search results page in Load Tester. Click the “Actors” tab and choose “Extractors.” Then click the green plus (‘+’) sign to add an extractor:
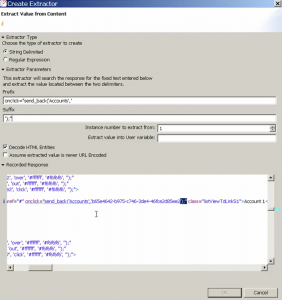
The simplest type of extractor is the “String Delimited Extractor.” This extractor needs a prefix and suffix string to capture a value from the HTML content of the search page. We use this extractor to recognize the onclick handler and function call and capture everything between single-quote marks, representing SugarCRM’s internal hex string.
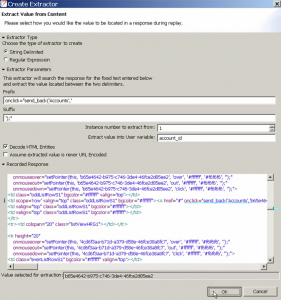
We then store the result of the extractor into a user state variable called “account_id.” We choose this name to match the “account_id” field, but we could have named it anything, such as “foo” or “value_of_account_id”.
User state variables that are created by Load Tester’s Application State Management Wizard get a hash prefix (‘#’) and, if it occurs more than once, an index number in square brackets. For example, “#record [2]”. These annotations are designed to help the human user interpret the Application State Management Wizard’s behavior. You should name variables according to any convention that you find easy to understand, but note that the Application State Management Wizard may overwrite your work if you begin a variable name with a non-alphanumeric character,
We also see that the “Create Extractor” dialog box displays the extracted value and highlights the extraction in blue. This is a way to verify that we are actually extracting the value we intended.
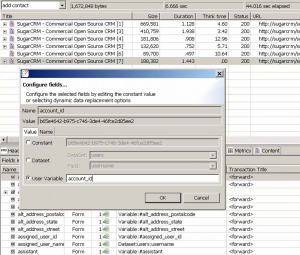
Click OK, switch to the fields view, and double click the unconfigured “account_id” field to bring up the configuration dialog box:
We then set the “account_id” field to read a value dynamically from the “account_id” user state variable:
We can then test our new configuration by running another replay. We should find that new contacts get associated with the correct account name on each replay:
Configuring a Detection Rule
We made this extractor work correctly. But do we need to configure a new extractor every time we perform a recording that uses this “account_id” field? No — we can extend the Application State Management Wizard’s logic to recognize the javascript “send_back” method.
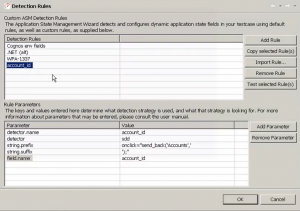
Access the Detection Rules editor inside Load Tester’s preferences dialog box. Browse to Web Performance > Configuration Wizards > Application State > Detection Rules.
We can parametrize nearly any rule via a system of name-value pairs. For our detector, we’ll use “sdd” (String Delimited Detector) as the detector type, and enter the correct prefix and suffix string. The “detector.name” name-value pair is an arbitrary name for our detector, but the “field.name” tells the Application State Management Wizard which field it should try to apply the detection rule to.
Use the “Test selected Rule(s)” button to verify that your name-value pairs match the legal expected format of the Application State Management Wizard’s logic model.
Whenever we create another recording, or simply re-run the Application State Management Wizard, Load Tester will scan for additional onclick handlers that call “send_back” with the ‘Accounts’ parameter, and match those handlers with any outgoing fields.
Custom Detection Rules are, however, an advanced feature of Load Tester, so you should review the reference documentation before you create your own. You can find reference documentation under the headings “Advanced Field Assignments” and “Configuring Dynamic Fields” in Load Tester’s build-in help service.
Summary
Extractors capture data from HTTP responses, user state variables retain this data until it is needed, and the fields view allows us to direct this data back to the server. The Application State Management Wizard can automatically configure the overwhelming majority of dynamic fields, but occasionally an important field is left unconfigured, and we can use a custom extractor to configure that field.
We can use custom detection rules to generate custom extractor-field pairs automatically. Detection rules are an advanced feature, so we should only use a custom detection rule when we find that manually configuring an extractor is too repetitive. However, when we actually need them, detection rules can save hours of our time.
— Lane, Engineer at Web Performance

