REST/Web Services and API Load Testing
In this post, I’ll discuss why web servers and API testing is important, a typical situation that a tester might experience, and how to perform web servers and API testing with Web Performance Tester.
Thorough web services testing is necessary because it:
- allows for identification of problems not revealed by GUI testing
- reduces likelihood of unexpected breakages
- improves ease of interaction with other applications
- improves ease of future expansion
API testing can be performed in several ways:
- Developers can create a webpage that generates a specific API call and displays results
- Testers can use a plugin like POSTMAN, reducing the amount of code they personally write
Applications such as Web Performance Tester generally perform either load testing or API testing but not both, and we often receive calls from users wondering why Web Performance doesn’t contain this function. However, Web Performance Tester can be configured to test the whether or not each call works (Functional & QA Testing), as well as the call’s speed (Load Testing with Web Performance Load Tester).
Sample Situation
Testers often test calls with a large number of variables. Rather than generate a call for each individual variable, the tester can use Web Performance Tester to automate the process by creating a dataset and running a custom load test that generates calls for a sequence of values.
Testing API in Web Performance Tester
The following section contains four parts: 1) recording an API call, 2) creating a dataset, 3) editing the datasource, and 4) generating a sequence of calls using a custom dataset.
For this example, we’ll test a link to a particular customer:
http://thomas-bayer.com/sqlrest/CUSTOMER/35
using the list of customers returned by:
http://thomas-bayer.com/sqlrest/CUSTOMER/?sortBy=age&country=US
NOTE: The following method is only applicable to “Virtual Browser” recordings.
Recording an API Call
Virtual browser recordings capture network connections. To capture API calls:
1. Click the “Record” button  and select a virtual browser.

2. Once your virtual browser loads, open your plugin of choice (I’ve used POSTMAN) and generate an HTTP request to http://www.thomas-bayer.com/sqlrest/CUSTOMER/35

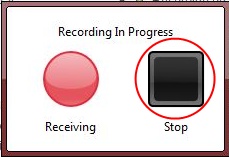
3. After generating the request, stop the recording.
- To view information about recorded API calls, select the call.
- Then, in the inspection pane located in the lower half of the Web Performance application, select the “Headers” Tab.
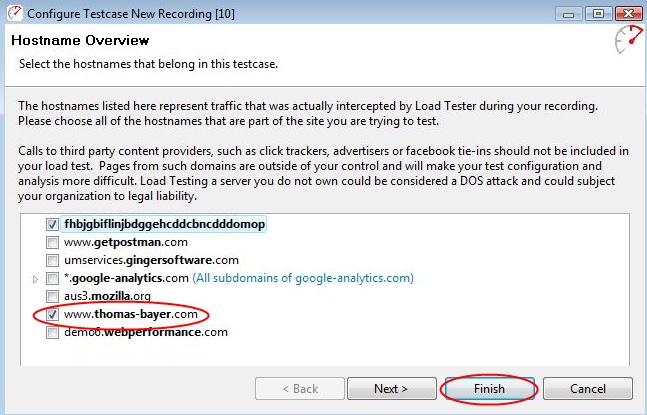
NOTE: While recording a virtual browser, Web Performance Tester records all network communications. As a result, you may find that Web Performance Tester recorded requests other than those generated by your plugin. You may remove the additional communications by narrowing the parameters in the “Configure Testcase New Recording” popup, as shown below.
Creating a New Dataset
Creating a custom dataset will allow you to replace a value in the recorded call with a sequence of values.
To create a new dataset:
1. In the navigator pane located on the left side of the Web Performance application, click “New” -> “Dataset.”
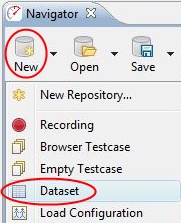
- If you have multiple repositories open, click the name of the repository for which you’d like to add a new dataset, then follow the step above. Alternatively, right click the “Dataset” folder for the active repository and select “New” -> “New Dataset.
2. In the editor pane located in the top half of the Web Performance application, click the “plus” icon to “Add Dataset Field,”

and enter a name for the new field when prompted.
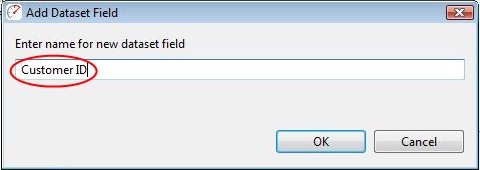
3. After adding a new field, select the column header
![]()
and click the “Fill…” button located at the bottom left corner of the editor pane.

4. Modify the “Start” and “End” values in the “Fill Dataset Field” popup as needed, then click “Generate Values.”
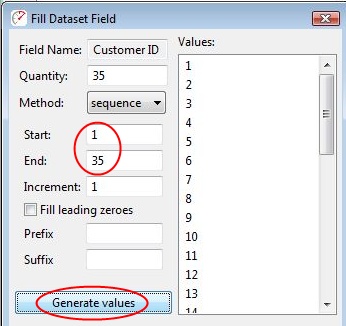
- I’ve changed the start and end values to 1 and 35 respectively, since that range encompasses the values returned by http://thomas-bayer.com/sqlrest/CUSTOMER/?sortBy=age&country=US
5. After setting the values for this new dataset, click “OK.” You may now generate new calls with this values in this dataset.
Editing the Datasource
The custom dataset will be used to replace the recorded variable to be tested (here, the customer ID).
To edit the datasource:
1. Open the load test in which the API call was originally recorded and select the recorded call.
2. In the inspection pane located in the lower half of the Web Performance application, select the “Headers” Tab.
![]()
3. Expand the “PATH” header to view all values in the call.

4. After expanding the “PATH” header, right click the “path segment” that will be replaced by the values in the new dataset and click “Edit.”

- I’m editing “Path Segment [2]” because it contains the customer ID, and I want to test all other customer IDs.
5. From the “Edit Field” popup menu, expand the drop down menu beside “Datasource” and select the “Dataset” option.
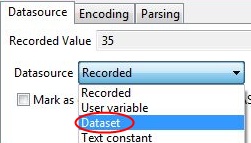
6. After selecting the “Dataset” option, choose the dataset you’d like to use in the “DataSet” field. Then, choose the “Field” you’d like this new dataset to populate and click “OK.”

Running a New Load Test
After editing the datasource, the call can be used to test the new values in the custom dataset.
To run a new load test:
1. In the navigator pane located on the left side of the Web Performance application, click “New” -> “Load Configuration.”
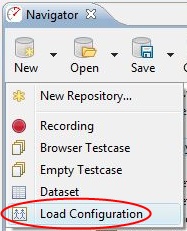
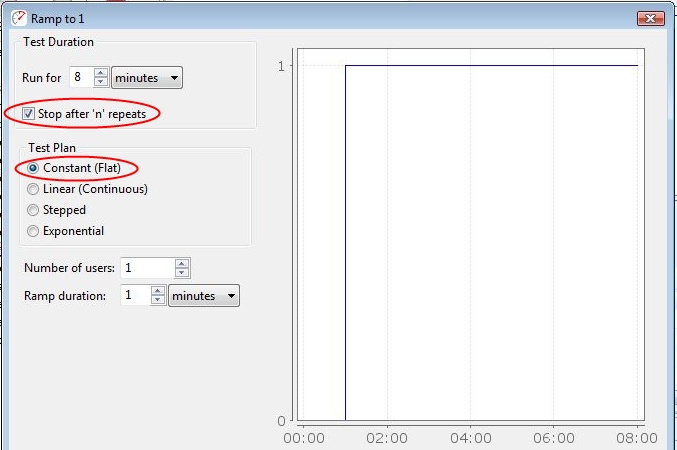
2. In the resulting popup menu, select the option “Stop after ‘n’ repeats,” set the “Test Plan” to “Constant (Flat),” and click “OK.”
3. In the editor pane located in the top half of the Web Performance application, select the testcase you’d like to replay, and run the test with the custom dataset.

4. After choosing the testcase, double-click the corresponding “Repeats” box and set the number of repeats equal to the number of customer ID values.

5. Run the custom Load Configuration to test whether or not each call works, as well as its speed.
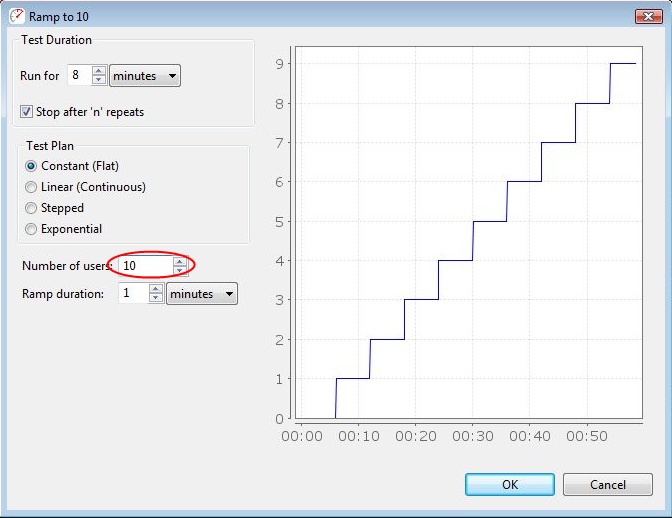
NOTE: To test the API call with load, set the number of users > 1.
You can edit the number of users for an open load configuration by
1. clicking “Edit” at the top of the editor pane.
![]()
2. In the resulting popup menu, increase the number of users.
