Configuring File Uploads
When a testcase has a file upload in it, Load Tester automatically handles the file upload during replays and load tests. However, in many tests each user should upload different file contents (and possibly use a different file name). Load Tester has streamlined this process to make it very easy to handle. Just follow these easy steps:
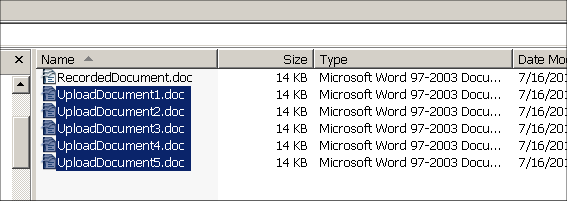
1) Gather the set of files to be uploaded

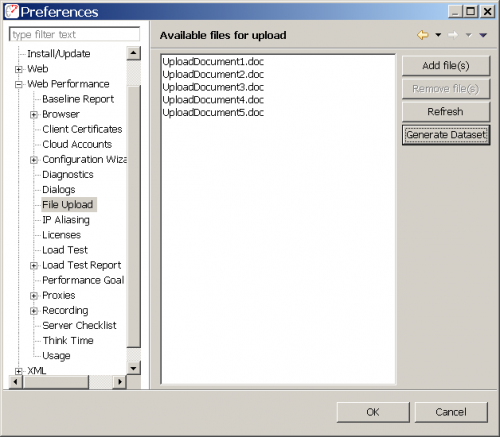
2) Import them into Load Tester (Window > Preferences > Web Performance > File Upload) and generate a dataset

File Upload preferences page in Load Tester
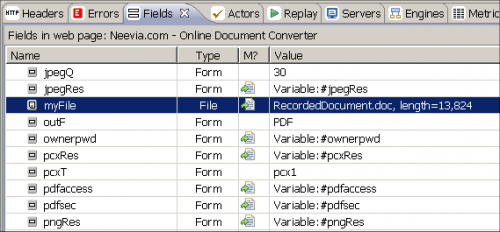
3) Find the file field in the testcase using the Fields View

File upload field in Load Tester’s Fields View
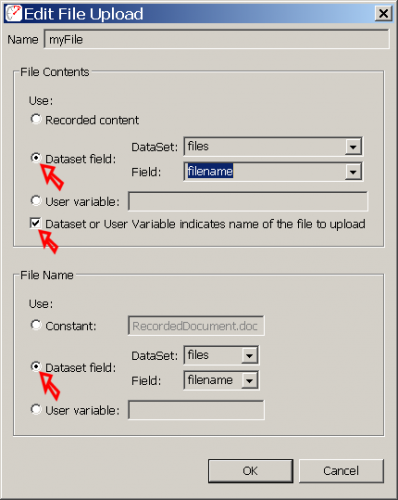
4) Configure the field to use the files specified in the dataset

Configure the source of the file upload field
The testcase is now ready to run! Load Tester will automatically send the files to the load engine prior to starting the next load test. Note that Load Tester has copied the files into its own private area, so if you change the contents of the files, the changes files must be re-imported into Load Tester so that the changes will be recognized and re-sent to the load engines.
For more details, watch the Configuring File Uploads video.
Chris
Chief Engineer
