How to Upgrade from Web Performance WPLoadTester 4.x to version 4.1 or 4.2
Step 1: Do you have a valid license for the new version?
From Within the Web Performance WPLoadTester™ Program:
1. Window Menu->Preferences
2. Expand Web Performance [+]
3. Click on Licenses
4. Look in the License Key summary to find the "Version code:"
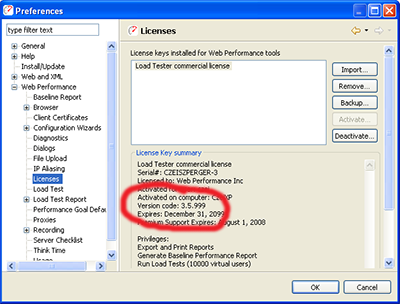
If the version code is less than 4.1 (e.g. 4.0.999), the license key can not run the WPLoadTester 4.1 software release. If you would like to upgrade to version 4.1 or later, then you must first install a updated license key as shown in Step 2. If your currently installed license key will cover version the new version then progress to Step 3, below.
Step 2: Install a New License
Once you've obtained a license key that is valid for release 4.1 or higher, the next step is to install it.
From Within the Web Performance WPLoadTester™ Program:
1. Open the dialog shown in Step 1.
2. Click on the import button and locate the license. Follow these instructions if you can't locate your license key.
3. Select the license key that was just imported, "WPLoadTester commercial license" in the example below.
4. With the license keyselected click on the Activate button.

Step 3: Upgrading the Software
Once the correct license key is installed you can proceed to install the new version of the software. Note that these instructions are only for customers who have a previous 4.x release installed. All others must download a new installer to get the latest version.
From Within the Web Performance WPLoadTester™ Program:
1. Important: The software will not recognize that updates are available if it does not have the required Windows permissions for installing the updates. One of these conditions MUST apply for the update process to succeed:
- WPLoadTester is started with administrator privileges (Run as administrator)
- WPLoadTester is installed in your home folder (e.g. C:/Users/username/...)
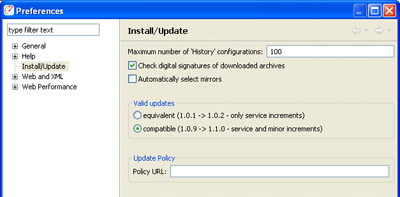
2. Open the preferences Window->Preferences and set the "Valid updates" setting to be "compatible".
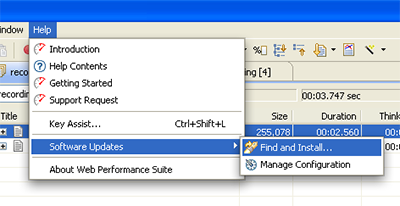
3. Open the Find and Install dialog.
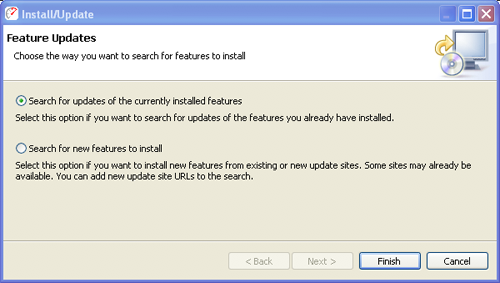
4. Select the "Search for updates" option and click Finish.
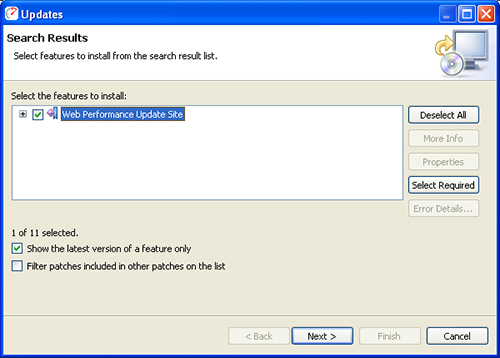
5. Make sure the Web Performance Update Site is checked and click Next.
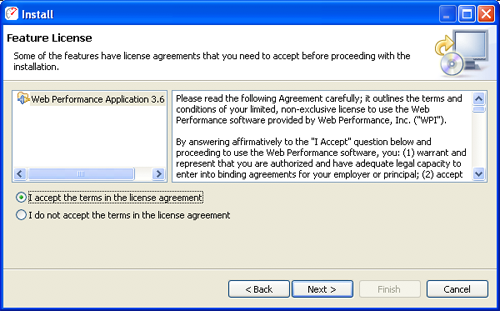
6. Accept the license agreement and click Next.
7. Note the installation location and click Finish.

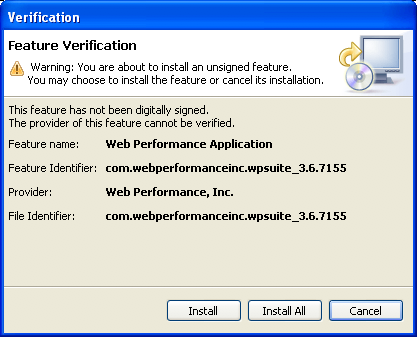
8. Click "Install All"
9. Restart the program.